
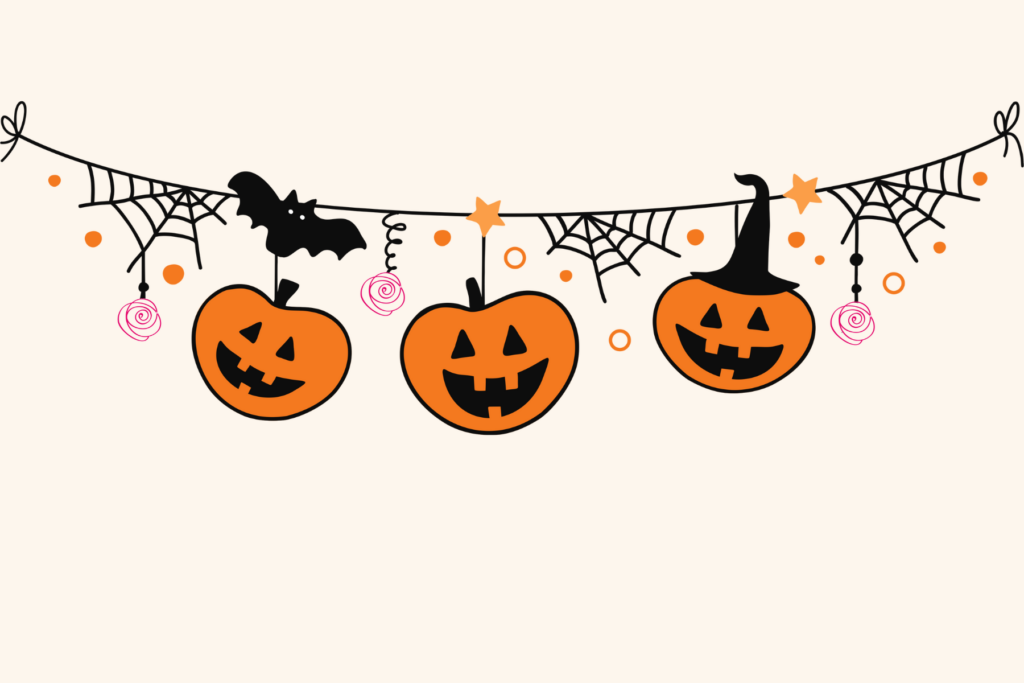
Turn your home into a mysterious Halloween den with a cute paper garland! Even the littlest of helpers can manage this simple DIY project and the result will delight the whole family.
What you’ll need:
- a sturdy quarter and templates
- Colored papers (orange, black, purple, white)
- string
- hole punch
- a black marker for painting faces
Procedure:
Prepare the templates – download them HERE. Trace the templates on coloured paper. Don’t be afraid to alternate colors – the more colorful the better! Using sharp scissors (or with a parent’s supervision), cut out all the designs. Care pays off here – the more precise the cut, the more beautiful the result. Make sure to punch two holes for each motif, one on the left and one on the right, so that it can be threaded onto the string.
Lay out all the cut motifs on the table and start stringing them on the string. You can alternate them according to colours or motifs. Leave a gap of about 10-15 centimetres between each motif so that the garland “breathes” nicely.
For extra sparkle and shine, you can decorate each motif with glitter, coloured sequins or draw details with metallic markers.